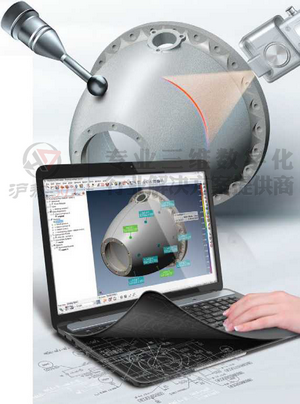
The core of PolyWorks|Inspector™ is a powerful inspection engine, which has parameter data processing capabilities, certified mathematical algorithms, and integrated visual and auditory feedback functions. Users can use it to extract meaningful information from their measured 3D data, automate the inspection process when measuring multiple workpieces, and structure the measurement result report to promote digital collaboration across the enterprise. | |
Alignment-get accurate alignment The scanned data needs to be accurately positioned and oriented in 3D before the parts can be detected and analyzed. The measured parts usually need to be aligned to the CAD model in order to extract and compare the nominal size and the measured size. Alignment can also be used for virtual assembly to check for interference problems or analyze the deviation of face and gap. PolyWorks|Inspector provides a wealth of alignment technology, which can establish alignment through the following objects: • Surface or section (best fit of data to reference, rotation/translation with constraints, and fit within tolerance zone) • Features (3-2-1, center point alignment, and reference frame alignment based on GD&T) • Reference point and reference line (RPS alignment, surface point alignment, and 6-point alignment) • Virtual gauge (caliper gauge, assembly gap gauge, blade gauge) |  |
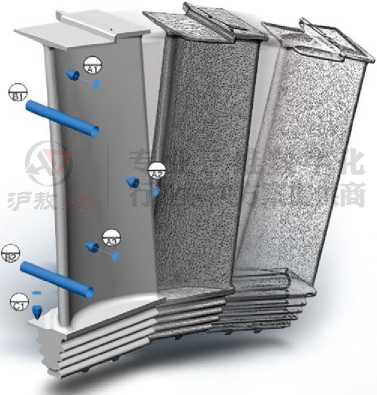
 | Measure-extract all required dimensions Extracting the size on the measured part and calculating the deviation from the corresponding nominal size is the PolyWorks|Inspector workflow Core. Due to the remarkable flexibility of PolyWorks, the size can be measured from a point cloud or three points constructed from a point cloud. Keratinization model, and extraction from the detected points. Nominal dimensions can also be extracted from CAD models or reference measurement parts. PolyWorks|Inspector provides all you need, a complete extraction and analysis toolbox: • The deviation of the surface, boundary and cross-section from the measured to the nominal • Feature size and shape tolerance control (ASME Y14.5-2009and ISO 1101, and PTB certified) • Advanced dimensions such as assembly clearance, contour radius, blade size (such as: leading edge, trailing edge, and global), assembly clearance, thickness, and more... PolyWorks|Inspector can also use single-point measuring equipment to guide the adjustment and inspection of fixtures in real time. |
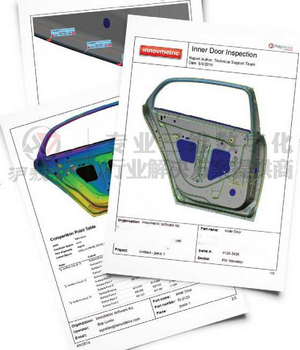
Reports-create updatable reports PolyWorks|Inspector provides excellent updateable report technology, which can ensure the accuracy of the report and significantly speed up multi-part inspection. Report items, such as 3D scene snapshots and result tables, will be automatically updated if changes are made. Since the entire inspection report will be automatically updated, you can confidently adjust the project parameters or replace the data points of the current workpiece with the data points of the new workpiece. |  |
Multi-part inspection Simplify the multi-part inspection function: It is never easy to prepare an inspection project for the multi-part inspection task. Using the Direct Replay™ function, it can work accurately for you. 1. Create inspection items and reports for the first article. 2. Subsequent parts use direct replay to automatically replay the same inspection process. 3. Use point cloud scanners, single-point measurement equipment, or equipment with both functions to centrally acquire 3D measurement data of new workpieces. Thanks to the associative inspection architecture of PolyWorks|Inspector, zero teaching has become a reality. Use Statistical Process Control (SPC) to monitor your process: Thanks to the multi-part project archiving function of PolyWorks|Inspector, the SPC database of object sizes and surface deviations of multiple parts can be automatically calculated and updated. The SPC database and related analysis tools, such as trend charts and statistical color charts, are very powerful tools for judging production and assembly problems, or before approving production tooling or parts. | |
Welcome to our website
hot key:


